For quite some years now, I kept my composing, mixing and mastering work strictly to my recording studio. While it’s not comparable to a big and bad-ass commercial studio centered around a million-dollar console, it has everything you need to create professional sounding productions, even including a vocal booth. I felt cozy and comfortable and was able to adjust everything according my personal workflow.
However, over the past year or so, I felt a strong wish growing in me:
Being able to compose on the road, be more flexible and to detach working from a specific location.
Since I’m planning to do some traveling in the upcoming year, I thought this could be the perfect time to assemble and set up my very own mobile composing and sound designing rig. This way, I would be able to work from anywhere: on a park bench, on the plane – hell, even on the beach (only in case of emergency of course)!
It took me quite some time to find the right pieces of gear since there are so many possibilities. Anyway, I had quite a clear image of what requirements my ideal mobile rig had to fulfill, which were:
- A high performance computer system I can realize even the most complex productions with. No compromises in comparison to the ‘big’ studio setup I’m used to work with.
- The mobile rig has to be space-saving to enable me to work literally everywhere.
- No need for power sources. My computer had to include a long battery life and all the peripherals like external drives should not be reliant on power sources.
- All I do on the mobile rig has to be compatible with the studio setup, so I can exchange and transfer projects that I started on one system to the other.
Now, in case you, too, are dreaming of your own mobile composing rig or are looking to complete the one you already got, I assembled a list of gear and gadgets to help you get along. It features the devices I use for my own setup as well as some alternatives and nice-to-have-but-not-necessary options.
DISCLAIMER: Of course, since science and technology progresses so fast and every one of you might have his or her special needs and requirements, this will never be the ultimate shopping list. However, I will keep it up to date and hope it helps you along with your dream of assembling your very own mobile composition rig!
LAPTOP COMPUTER
This is the heart and centerpiece of anyone’s mobile composing rig so it definitely pays off to get a system that’s capable of fulfilling technically demanding tasks. Especially when it comes to composing for film, trailers or games, you should have a lot of memory (RAM), processing power and a good sound card on top of your priorities list.
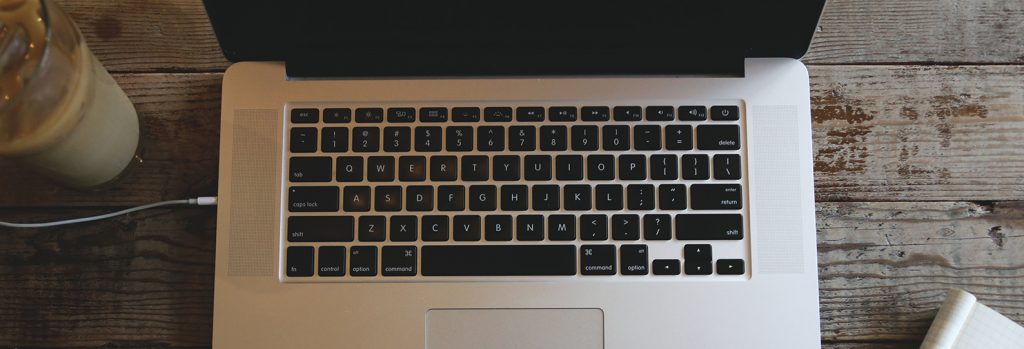
Since I’m on a Apple-based system in my studio and wanted to be able to share projects easily between setups, I chose an Apple MacBook Pro to be my rig’s centerpiece. Although just recently, a new 2016 model was published by Apple, I decided to go with a pumped-up 2015 MacBook Pro. For one part, because I wasn’t quite happy with the ‘innovations’ the new model brought and for the other part because it was missing essential connections like a HDMI port or standard USB ports.
These are my MacBook Pro’s specs:
- 2,5GHz Intel Core i7 processor
- 16GB RAM
- 1 TB SSD hard drive
- 15″ Retina display
Of course, there are similar or even more powerful Windows-based systems for the same price but since for me, easy integration with my existing, Logic-based project workflow was essential, I kept with Apple on this one. I don’t want to start bragging about the reliability, low-noise, and simplicity of Apple products – you can read about this elsewhere. Just keep in mind you don’t want to make compromises regarding the choice of your computer system. After all, this piece of equipment is the most crucial part of your mobile rig.
EXTERNAL HARD DRIVE
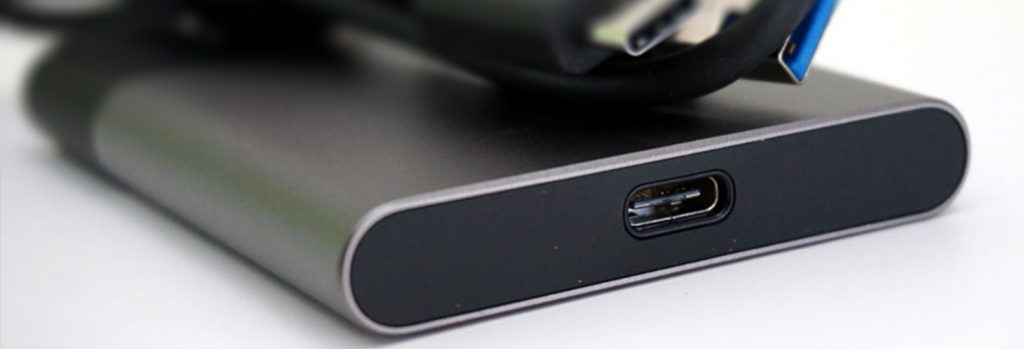
Another essential part of your composing and sound designing system is the external hard drive you’re placing all your fancy sample libraries on. You should absolutely find a good external drive you can stream your samples from, to keep your laptop’s internal hard drive clutter-free and running fast. I recently exchanged all the disk drives I had installed in my studio’s computer with SSDs and was positively shocked by the result. Therefore, I was quite sure I also wanted to go with a SSD for my mobile rig, especially since these types of drives perform exceptionally good at streaming huge amounts of sample data at high speed.
After comparing and researching a lot, I stumbled upon Samsung’s Portable SDD T3. It’s a tiny, credit card-sized, USB 3.0-powered SSD drive that runs at up to a speed of 450 MB/s. While it’s quite pricey and you could discuss about whether the price of SSDs is really justified and such, the Samsung T3 is definitely the perfect choice for my purposes. It has:
- Plenty of storage space (1TB in my case)
- High data speed
- surprisingly small dimensions
- no need for an external power supply
If you’re planning to rather go for a disk drive, I’d highly recommend to go for a drive with at least 7,200 RPM (rounds per minute) which is the minimum required speed to stream big amounts of sample data without getting audio drop-outs or freezes. One reason I went with the SSD however, was, that literally every external hard drive featuring the appropriate RPM and storage space required external power supply. Since it’s involving mechanical parts, a disk drive is much more vulnerable to concussions than solid state drives, which is an important detail you want to keep in mind if you plan to travel with your mobile rig.
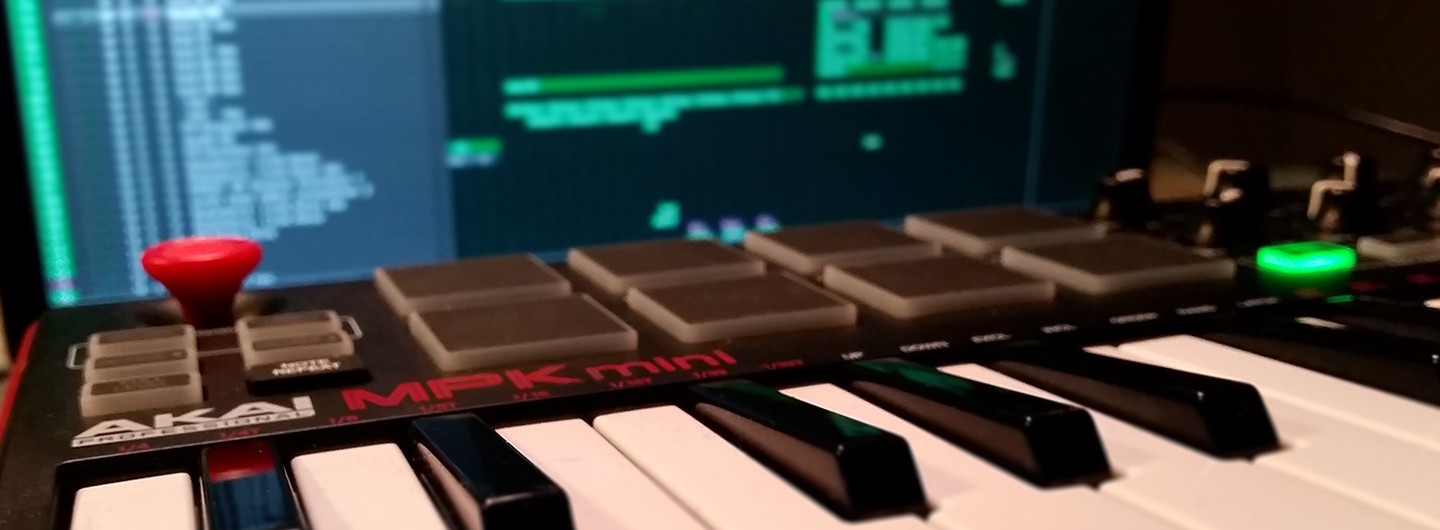
MIDI KEYBOARD
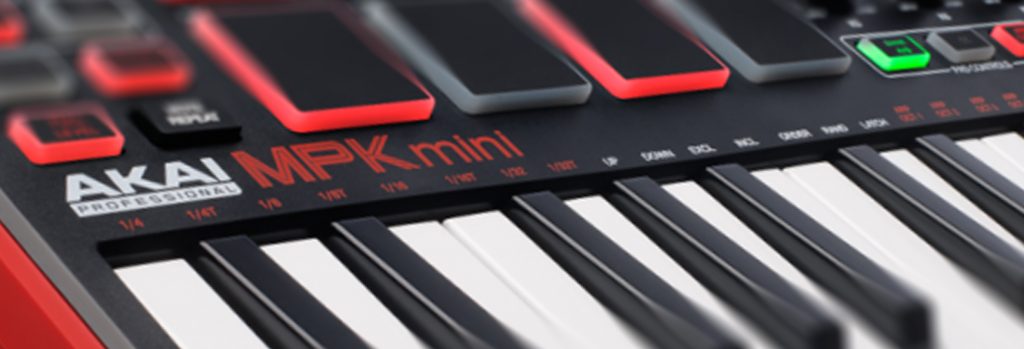
While probably not necessary for every composer and sound designer out there, for me, having a little MIDI keyboard at hand when composing on the go was very crucial. While I don’t want to miss my studio’s 88-key master keyboard, I knew I would get along well with a much smaller keyboard size when working on the go. Again, I searched the internet and compared products from various manufacturers, eventually ending up with AKAI’s MPK Mini MKII. The MPK Mini MKII is a 25-key midi controller keyboard featuring eight additional, freely assignable control knobs as well as eight backlit MPC-style drum pads. Since it’s almost the same width as the MacBook Pro, you can easily place it in front of the laptop or put it even on top in cramped traveling situations.
There are other small MIDI controlling options from AKAI like the MPD218 (only drum pads) or the LPK25 (only keys) that may fit your specific workflow better, but for me, the MPK Mini MKII provided the best combination of features.
HEADPHONES
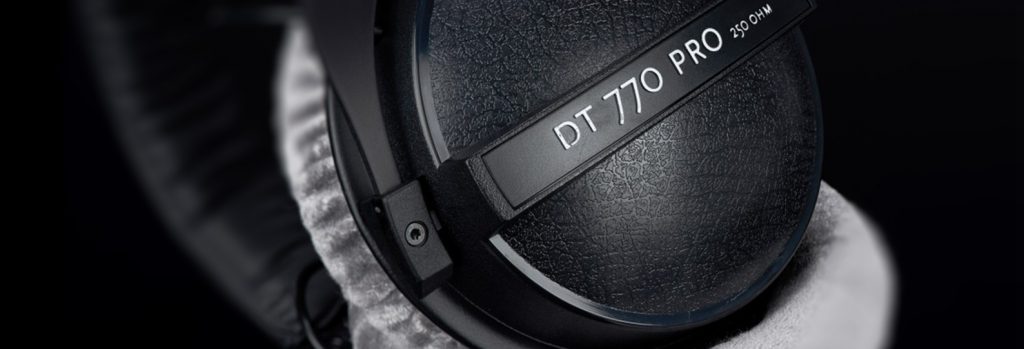
Having a pair of decent headphones at hand when working on the road is absolutely essential. For the most time, they are the only tools available to you to judge and evaluate your project’s sound. While working with headphones is quite a different experience from listening to your studio monitors, a good pair of reference headphones can really facilitate the transition.
Some things to keep in mind when looking for the right headphones:
Working on the go means, that you and your ears will be exposed to quite a lot of surrounding noise like people talking on the train, the machine noise of a plane or simply the wind howling through the trees in the park. Therefore, it’s essential to find some headphones which shut out all the outside noise so you can focus on the sound you’re making yourself. Chances are that you’ll be wearing your headphones for rather long periods of time, so make sure you find some that sit on your head and ears comfortably. The best type of headphones for our tasks are so-called ‘closed, over-ear headphones’. These are some of the most popular and widely used reference headphones available:
MOBILE RECORDER
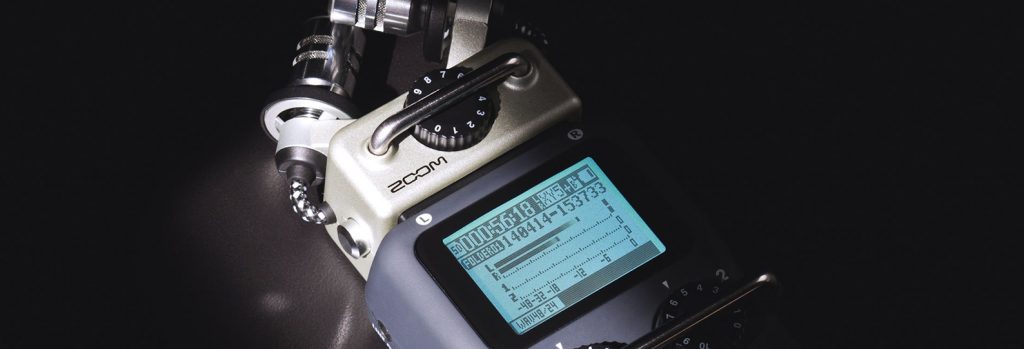
Depending on the tasks you’d like to accomplish with your mobile rig, adding a mobile recorder to your gear list can be either optional or essential. If you know that you’ll stay with virtual instruments and sample libraries only, you’ll likely get along just fine without a mobile recorder. If, however, you plan to do field recordings or capture live performances of yourself or other instrumentalists and singers, a professional mobile recorder will come in super handy.
One brand, that is widely known for producing remarkable, easy-to-use recorders at a reasonable price rate is ZOOM. I personally own a ZOOM H5 portable recorder which I carry along with me all the time. It features an interchangeable microphone capsule setup, as well as 4-track recording at up to 96 kHz/24 bit. It’s really easy to use and can be fired up in literally no time, which is perfect if you want to record something that might be gone in the next moment. Most of the time I’m using the standard XY stereo mic capsule along with a 2-track recording setup, but it’s always nice to have a couple of additional inputs available. Whenever I want to record a singer or instrumentalist, I can connect another microphone to one of the XLR/Jack inputs and I’m good to go.
Depending on the sample rate and bit resolution you’re choosing, mobile recordings can accumulate really large amounts of data. Therefore, you’ll want to make sure to get yourself an SD card with enough space available (32/64GB should be fine for starters). By the way, since the ZOOM H5 also works as an USB audio interface, you’re able to alternatively record directly to your DAW which is a really convenient method to keep in mind.
Including the ZOOM H5, those are some convenient mobile recording options worth checking out:
AUDIO INTERFACE
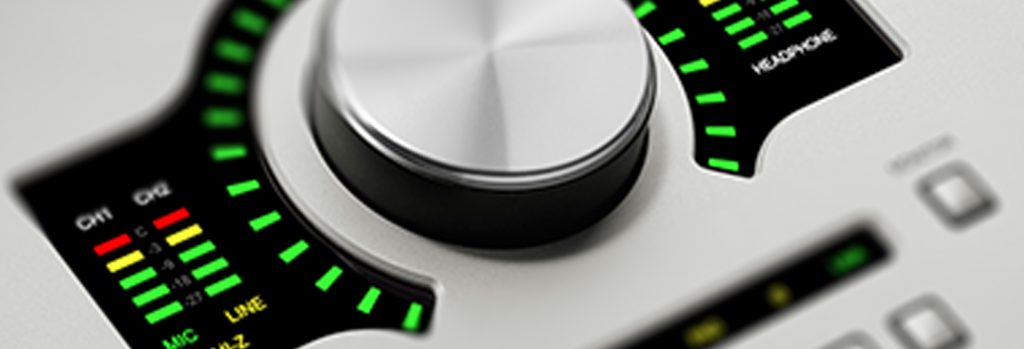
Another optional piece of gear for your mobile composing rig would be getting a decent audio interface. As long as you’re working with sample libraries and virtual instruments only, using your laptop’s headphone jack could be all you ever need monitoring-wise. However, if you’re also interested in recording live instruments, vocals and foley sounds, you won’t get around purchasing an audio interface, really. To keep your setup small and convenient, I’d suggest going for 2-4 inputs tops, an adjustable headphone jack and a 1/4 jack – XLR combo stereo output. While I personally use my ZOOM H5 as audio interface whenever I want to record live instruments to the laptop, there are several other full-blood compact interfaces out there worth mentioning.
USB HUB
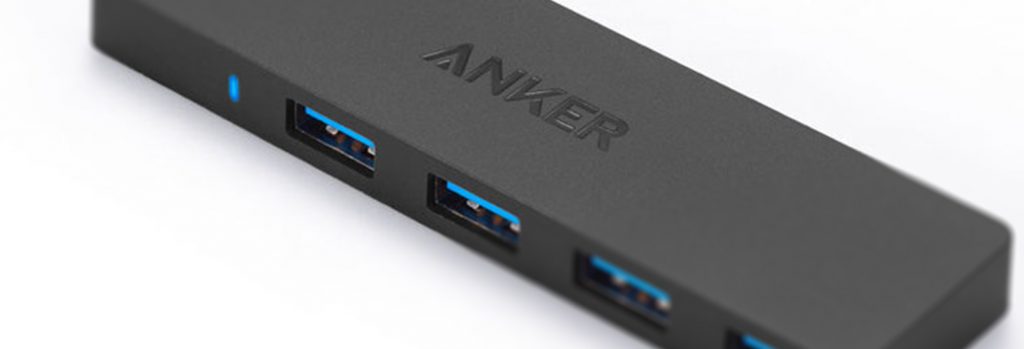
Today’s laptop design trends seem to lean towards less ports and connections for the sake of slimness and mobility. Many recent laptops, including the MacBook Pro model I chose, offer only 2-3 USB ports, which can be quite a pain if you rely on connecting a variety of peripherals like MIDI controllers, an external drive, dongles or an interface.
This being said, it’s clear that adding a decent USB hub to your rig can be an easy and inexpensive way to expand your connectivity options and to free up occupied ports. Of course, there are thousands of different USB hubs available on the market and depending on your needs, you might find that one works better than the other. However, following my own guidelines of only using space-saving gear that doesn’t rely on external power sources, I came up with a particularly handy and inexpensive product: the ANKER Ultra Slim 4-Port USB 3.0 Hub.
It preserve’s USB 3.0’s advantages in transfer speed and allows you to connect multiple peripherals to one port.
ILOK
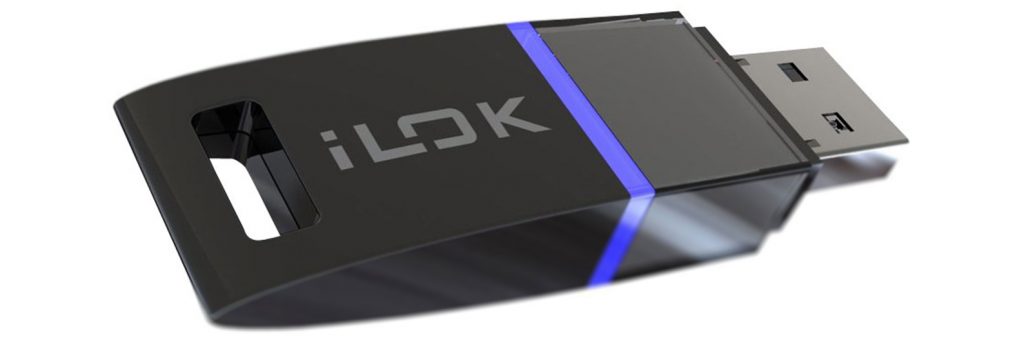
Often considered as an inevitable evil, carrying along an iLok with you can be a necessity if you’re using software or plugins that have their licenses stored on the USB dongle. A real drawback in regards to working on the go is that an iLok takes away one valuable USB port without really providing anything useful.
Instead of carrying an actual iLok, you could of course transfer all the licenses you’ve got stored on the dongle to your laptop, rendering the stick expandable. Keep in mind though, that most developers’ licenses can only be assigned to one computer at a time. Since in my particular case, I want to be able to use the same iLok-protected plugins on both my studio setup as well as with my mobile rig, unfortunately there’s no way around carrying the dongle with me.
If you haven’t one already, you can order an iLok USB dongle from the official iLok website.
LAPTOP BAG
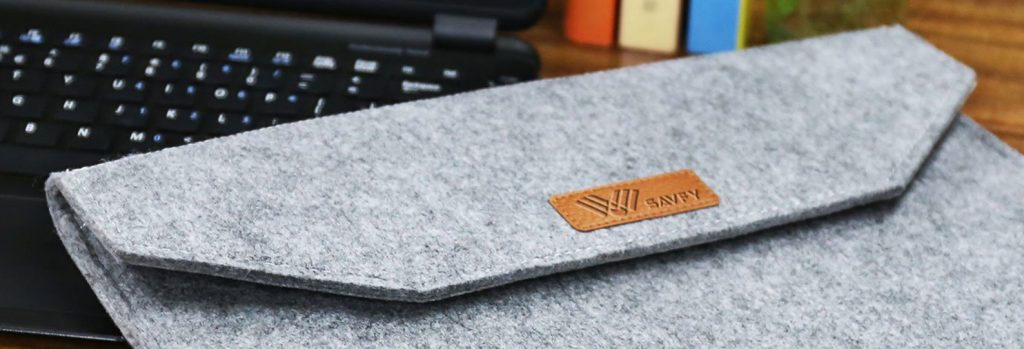
Quite an obvious thing: Once you assembled your precious mobile composing rig, you’ll want to protect your gear and be able to conveniently carry everything with you when you’re on the move. Below, I included a couple of laptop bags and transport options I found really helpful and noteworthy:
- KANVASA Felt Laptop Sleeve
- SAVFY Laptop Sleeve
- Zikee Waterproof Laptop Bag
- KAUKKO Portable Outdoor Backpack
MY PERSONAL MOBILE COMPOSING RIG
Here’s a quick overview of gear and peripherals I assembled for my own mobile composing rig:
- Laptop: Apple MacBook Pro
- External Drive: Samsung’s Portable SDD T3
- MIDI Keyboard / Controller: AKAI MPK Mini MKII
- Reference Headphones: Beyerdynamic DT-990 Pro
- Mobile Recorder & Interface: ZOOM H5
- USB Hub: ANKER Ultra Slim 4-Port
- Laptop Bag: KANVASA Felt Laptop Sleeve
Of course, we’ll not stop here. In a future tutorial, we’ll be discussing the most essential software and sample libraries you need to get started with composing great sounding music on the go.
Pingback: Sonokinetic - Espressivo Review - EPICOMPOSER
Pingback: Gothic Instruments - Dronar Live Strings Review - EPICOMPOSER
Pingback: Adding Analog Warmth To Sampled Strings Using Tape Simulation - EPICOMPOSER